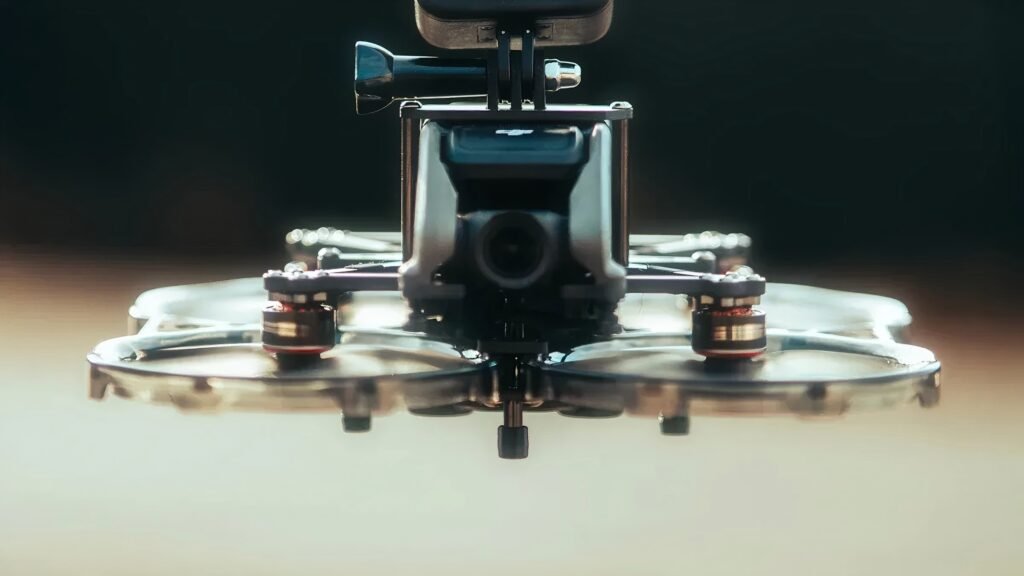
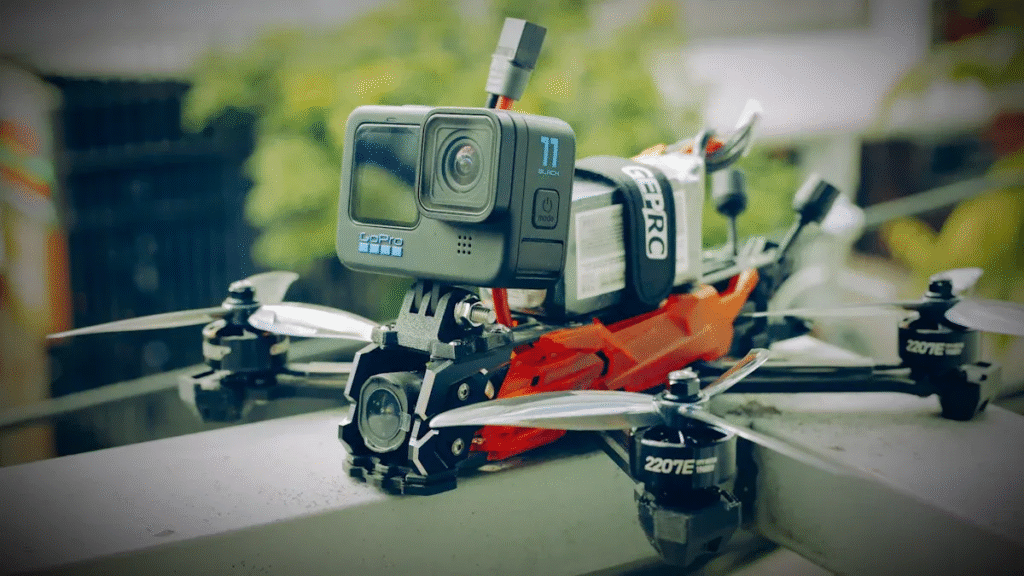
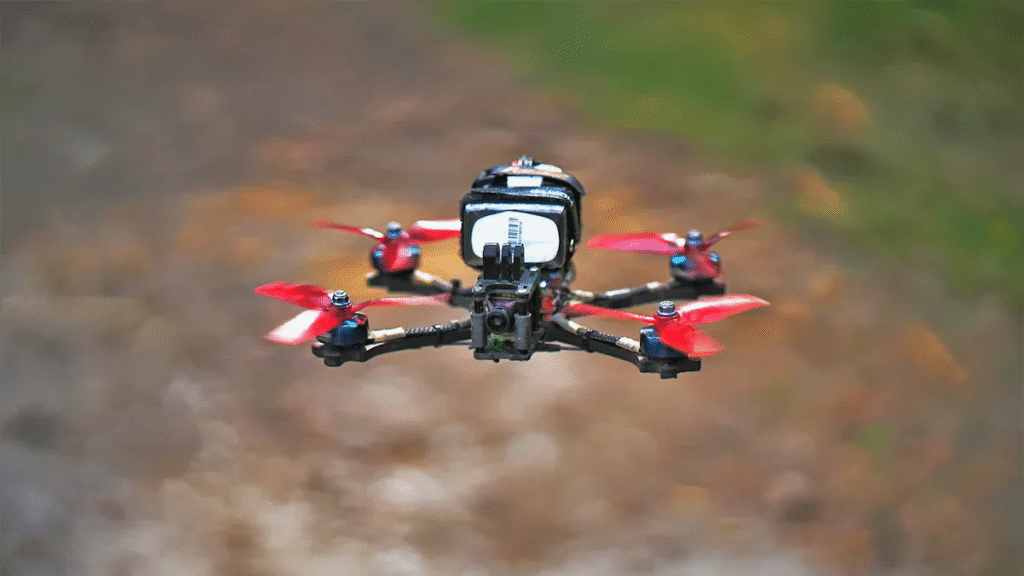
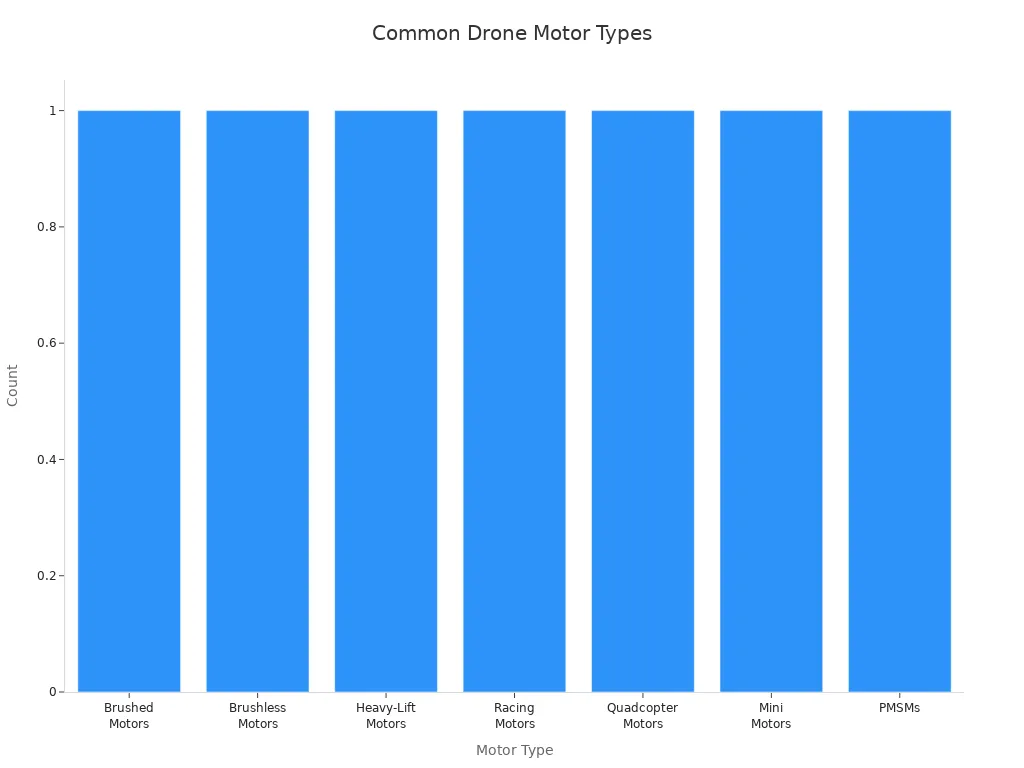
You want to build a drone from scratch, but selecting the right drone motor shapes your entire project. Each motor type serves a unique purpose. For example, brushless motors dominate modern DIY builds because they offer efficiency and durability. You can see the range of motors used in the industry below:
| Type of Drone Motor | Typical Use Case / Characteristics |
|---|---|
| Brushed Drone Motors | Used in entry-level and toy drones; simple design but wears out faster due to brushes. |
| Brushless Drone Motors | Most prevalent in modern DIY drones; efficient and durable. |
| Heavy-Lift Drone Motors | Designed for high torque and thrust; used in delivery, agricultural, and cinematography drones. |
| Racing Drone Motors | High-speed motors with high KV ratings; used in FPV racing and competitive flying for agility and acceleration. |
| Quadcopter Motors | Optimized for four-rotor drones; provide balanced performance and stability for recreational and camera drones. |
| Mini Drone Motors | Small and lightweight; ideal for indoor, micro, and compact drones where size and weight are critical. |
| Permanent Magnet Synchronous Motors (PMSMs) | High efficiency and precision; used in advanced UAVs for professional photography, mapping, and industrial inspection. |
If you are a beginner, choose pre-made brushless motors before trying to assemble motors from raw materials. For reliable options, consider trusted brands like Retek Motion.
Key Takeaways
- Choose brushless motors for your drone to get better efficiency, longer life, and quieter flights compared to brushed motors.
- Match your motor’s KV rating and torque to your drone’s size and propeller to ensure stable flight and avoid damage.
- Balance your propellers before every flight to reduce vibration, improve stability, and extend your drone’s lifespan.
- Use quality components like ESCs and batteries that fit your motor’s specs to keep your drone safe and flying smoothly.
- Perform regular maintenance by cleaning, checking parts, and updating software to keep your drone reliable and ready to fly.
Drone Components
Frame
The frame forms the backbone of your drone. You mount all other parts on it, so its material and design directly affect flight performance. Carbon fiber frames offer high strength and low weight, which improves maneuverability and flight time. Aluminum alloys provide a balance between durability and cost, while plastics and composites absorb shocks but lack structural strength. The table below compares common frame materials:
| Material | Key Properties | Impact on Flight Performance |
|---|---|---|
| Carbon Fiber | Lightweight, rigid, durable | Stable, efficient, reduces vibration |
| Aluminum Alloys | Sturdy, affordable, good heat dissipation | Reliable, slightly heavier, easy to work with |
| Plastics/Composites | Flexible, impact resistant | Absorbs shocks, less structural strength |
Choose a frame size that matches your drone’s purpose. For example, a quadcopter frame has four arms, each supporting a motor.
Propellers
Propellers generate lift and control movement. You must select propellers that fit your frame and match your drone motor’s power. Propeller material, size, pitch, and blade count all influence lift and efficiency. Carbon fiber propellers provide stable flight and high efficiency, while plastic propellers are affordable and easy to replace. More blades increase lift but reduce efficiency. Larger diameter and higher pitch propellers require motors with more torque.
Tip: Always balance your propellers before flight to reduce vibration and improve stability.
Drone Motor
The drone motor determines how much thrust your drone can produce. Brushless motors are the top choice for most builds because they deliver high efficiency and long life. You need to match the motor’s KV rating and torque to your propeller size and drone weight. High-torque motors support larger propellers and heavier payloads, while high-KV motors spin faster and suit smaller props. Proper motor selection ensures stable flight and optimal performance.
ESCs
Electronic Speed Controllers (ESCs) regulate the speed and direction of each drone motor. ESCs receive signals from the flight controller and adjust power to the motors. High-quality ESCs offer fast response and smooth control, which improves flight stability. Features like active braking and voltage regulation protect your motors and extend flight time. Always match your ESCs to your motors’ voltage and current requirements for safe operation.
Flight Controller
The flight controller acts as the brain of your drone. It collects data from sensors, processes pilot commands, and sends precise instructions to the ESCs. This coordination allows your drone to hover, turn, and respond to your inputs. Advanced flight controllers include features like GPS, return-to-home, and low battery warnings for safer flights. Reliable communication between the flight controller and ESCs ensures smooth and accurate motor control.
Motor Selection
Brushless vs Brushed
Choosing the right drone motor is the foundation of a successful build. Most DIY drone enthusiasts prefer brushless motors over brushed motors for several reasons. Brushless motors use electronic controllers and permanent magnets, which eliminate the friction and wear caused by brushes. This design leads to higher efficiency, less heat, and longer operational life. You will notice smoother and quieter flights, which is especially important for aerial photography or flying in noise-sensitive areas.
Here is a direct comparison between brushed and brushless motors:
| Feature | Brushed Motors | Brushless Motors |
|---|---|---|
| Efficiency | Lower due to friction and brush wear | Higher efficiency with minimal energy loss |
| Maintenance | Requires frequent brush replacement | Virtually maintenance-free, longer lifespan |
| Noise | Louder operation due to brushes | Quieter operation, less vibration |
| Torque & Speed | Adequate for low-speed, simple tasks | Higher torque and speed control, better precision |
| Thermal Performance | Generates more heat | Better heat management, improved durability |
| Cost | Lower initial cost | Higher upfront cost due to electronics |
| Applications | Budget drones, toys | High-performance drones, payload carrying, racing |
Brushless motors can last 10,000 to 20,000 hours or more, while brushed motors wear out much faster due to mechanical friction. You will spend less time on maintenance and more time flying when you choose brushless motors. Although the initial cost is higher, the benefits in efficiency, durability, and performance make brushless motors the clear choice for most drone builds.
Tip: For your first build, always start with pre-made brushless motors. They offer reliability and ease of installation, which helps you avoid common pitfalls.
Motor Specs
Understanding motor specifications is essential for matching your drone motor to your drone’s size and purpose. The most important specs include KV rating, thrust, torque, and current draw.
- KV Rating: This number tells you how many revolutions per minute (RPM) the motor will spin per volt applied. High KV motors spin faster and suit smaller, lighter drones. Low KV motors spin slower but provide more torque, making them ideal for larger drones with bigger propellers.
- Thrust: Thrust measures how much force the motor can generate. You want a thrust-to-weight ratio of at least 2:1 for stable flight. For example, if your drone weighs 1 kg, your motors should provide at least 2 kg of total thrust.
- Torque: Torque is the twisting force that helps spin the propeller. Larger propellers need more torque, so choose a motor with higher torque for heavy-lift or long-range drones.
- Current Draw: This tells you how much electrical current the motor uses at different throttle levels. Motors that draw too much current can overheat or damage your ESCs and batteries.
A quick guide to KV rating and drone size:
- KV rating measures motor RPM per volt. Higher KV means higher RPM.
- High KV motors work best for lightweight, fast drones. They provide speed but use more current.
- Low KV motors suit larger drones. They spin big propellers efficiently and offer better thrust per watt.
- Always match the KV rating to your drone’s size, propeller, and battery voltage.
Note: If you use a low thrust-to-weight ratio, your drone may struggle to lift off or respond to controls. Aim for a 2:1 ratio for best results.
Propeller Matching
Matching your propeller to your drone motor is critical for performance and safety. The right combination ensures efficient power use, stable flight, and long component life.
- Larger propellers pair best with low KV motors. These motors provide the torque needed to spin big props without overheating.
- Smaller, lighter propellers work well with high KV motors. These motors spin fast and deliver quick response for racing or acrobatic drones.
- High pitch propellers generate more thrust but require more power. Use them for speed, but monitor motor temperature.
- Low pitch propellers offer stable, efficient flight. They suit aerial photography or long-range drones.
If you mismatch your motor and propeller, you risk overheating and damaging your components. For example, using a high KV motor with a large propeller increases current draw and can cause your ESC or motor to fail. Always check manufacturer recommendations for motor and propeller pairings.
Tip: Test your motor and propeller combination on the ground before your first flight. Monitor current draw and temperature to prevent damage.
For beginners, pre-made brushless motors from trusted brands simplify the selection process. You can find reliable options from vendors like RaceDayQuads, GetFPV, and Amazon. Retek Motion also offers high-quality drone motors with clear specifications, making them a solid choice for your first build.
Assembly Steps

Parts Preparation
Start by organizing all your components and tools. A clean workspace helps you avoid mistakes and keeps small parts from getting lost. Follow these steps to prepare your parts:
- Place spacers on the main stack screws. This prevents the ESC from touching the frame directly.
- Slide the ESC onto the screws so it rests on the spacers. You can secure it with nuts or standoffs later.
- Strip and tin the battery leads and ESC pads. Prepare the battery connector pads and motor pads for soldering.
- Solder the battery wires, making sure you match the correct polarity. Attach a filter capacitor between the battery terminals.
- Use a multimeter to check for shorts in your battery connections.
- Arrange the motor wires neatly. Cut them to the right length, strip the insulation, and tin the wires.
- Solder the motor wires to the ESC pads.
- Connect the ESC to the flight controller using pre-crimped cables or by soldering, following the board’s documentation.
- Wire the receiver to the flight controller, checking the documentation to avoid mistakes.
Tip: Retek Motion offers pre-crimped cables and high-quality ESCs that simplify this process.
Motor Mounting
Secure mounting is critical for balanced flight. Use the correct screws for your frame thickness—longer screws for thicker frames. Apply blue threadlocker to each screw to prevent loosening from vibration.
- Hold the Drone Motor on the arm and align the holes.
- Insert the first screw with threadlocker and partially tighten it.
- Insert the second screw opposite the first, then fully tighten both.
- Cut the motor wires to length, strip, and tin them.
- Pre-tin the ESC pads and solder the motor wires to the correct pads.
- Push heat shrink tubing over the ESC but do not shrink it yet.
- Mount the flight controller on standoffs and secure it with nylon nuts.
Check that all motors and propellers are level. Misalignment can cause drift or vibration. Balanced mounting ensures thrust points straight down.
Wiring and ESCs
Use proper soldering techniques for reliable connections. Tinning, splicing, and heat shrink tubing help prevent cold joints and overheating. Keep wires short to reduce interference and voltage drops. Twist longer wires for neatness and noise reduction.
- Secure all wires to prevent loosening during flight.
- Route wires underneath or around the flight controller, not over it.
- Use zip ties to secure battery leads to the frame for stress relief.
- Confirm that ESC, motor, and battery ratings are compatible, leaving a 20% current margin.
If you need longer motor cables, create extensions using quality wire and connectors. Retek Motion provides durable wiring kits for custom builds.
Initial Motor Test
Before full assembly, test each motor individually:
- Disconnect the motor from power and use a multimeter to check resistance between the three-phase wires. Values should be nearly equal.
- Connect the motor to a working ESC and signal source. Gradually increase throttle and watch for smooth rotation.
- Listen for abnormal noise or vibration.
- Use a thrust stand to measure thrust, speed, and temperature at different throttle levels.
Note: Testing each motor early helps you catch issues before they affect your entire build.
Flight Tips
Balancing
You must balance your motors and propellers to achieve smooth, stable flight. Unbalanced components cause vibration, which leads to noise, reduced efficiency, and faster wear on your drone motor and frame. For hobbyist drones, static balancing works well. Place the propeller on a low-friction stand and adjust the weight until both blades stay level. This method is quick and cost-effective for small builds.
For professional or high-performance drones, dynamic balancing offers superior results. This process uses a test stand with vibration sensors to measure and correct imbalances while the motor and propeller spin at operating speeds. Dynamic balancing can reduce vibration by up to 50 times, resulting in quieter operation, longer flight times, and less maintenance. You will notice improved stability and control, especially during demanding maneuvers.
| Method | Description | Advantages | Limitations |
|---|---|---|---|
| Static Balancing | Adjusts propeller mass at rest | Simple, low cost | Less precise, manual process |
| Dynamic Balancing | Balances motor and propeller while spinning | High accuracy, professional | Higher cost, technical skill |
Tip: Always balance your propellers before every flight session to prevent vibration-related issues.
Maintenance
Routine maintenance keeps your drone reliable and extends its lifespan. You should inspect motors and propellers for damage or debris after each flight. Clean components with compressed air and a soft brush. Tighten all screws and fasteners to prevent loosening during flight. Lubricate your motors if the manufacturer recommends it.
Follow these steps for effective maintenance:
- Power down and disconnect the battery before starting.
- Clean the drone body and components with a microfiber cloth.
- Check for worn or damaged parts and replace them promptly.
- Calibrate sensors like the compass and gyroscope regularly.
- Update firmware and software to ensure peak performance.
- Store your drone in a dry, cool place away from sunlight.
Lightweight components help you maximize flight time and efficiency. Reducing weight lowers power consumption, allowing your drone to fly longer and respond better to controls. Choose high-energy-density batteries and lightweight frames for the best results.
Regular maintenance and careful balancing protect your investment and ensure every flight is safe and enjoyable.
Selecting the right motor and integrating it with compatible ESCs and batteries ensures your drone flies safely and efficiently. Recent studies highlight that brushless motors, especially those with advanced cooling and robust design, deliver higher torque, efficiency, and reliability.
- Matching components reduces electromagnetic interference and boosts operational safety.
- Trusted brands like Retek Motion offer motors with industry-leading efficiency and durability.
| Brand | Efficiency (%) | Max Thrust (kg) | Key Features |
|---|---|---|---|
| Retek Motion | 91 | 70 | High torque, advanced cooling |
| T-MOTOR U15II | 88 | 36.5 | High reliability |
Start your build with confidence—choose quality components for lasting performance.
