Blog
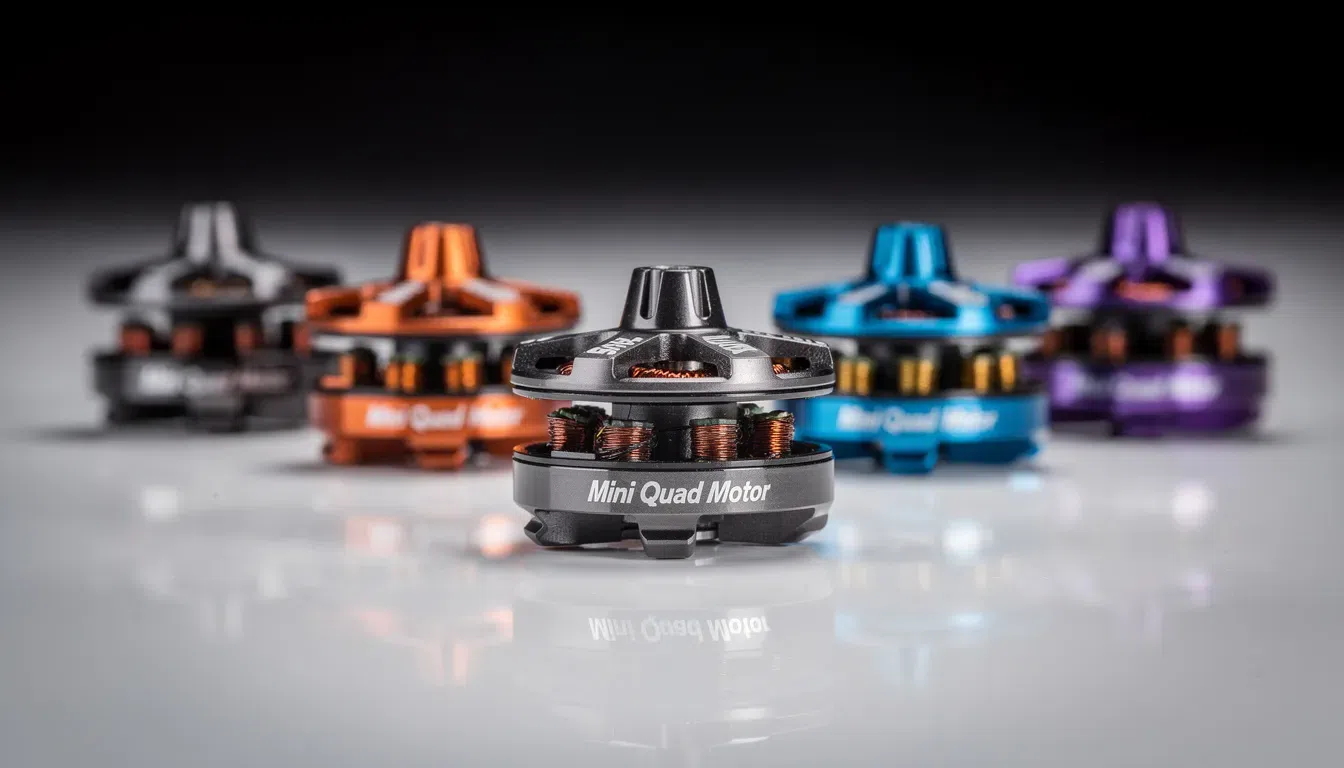
Top Mini Quad Motors: Choosing the Right Option for Your Drone
Mini quad motors play a crucial role in FPV drones, directly impacting their performance, efficiency,

You can build a real DC motor using cardboard and a few simple materials you likely already have at home. This project gives you hands-on experience with basic electronics and mechanics. You will find this process beginner-friendly and affordable. Gather your supplies and get ready to discover how electricity and magnetism work together in a DC motor.

To start building your DC motor, you need a few basic materials and tools. Most of these items are easy to find at home, in a classroom, or at a local craft store.
Essential Materials and Tools:
Tip: You can substitute popsicle sticks with sturdy straws or small wooden dowels if needed. Use any strong glue you have available, but hot glue provides a quick and secure bond.
You can construct the frame, supports, and side panels using only cardboard, paper, and glue. Many hobbyists reinforce the sides with popsicle sticks and chart paper for added strength. Paint not only improves appearance but also adds durability. These simple materials, when assembled carefully, create a sturdy base for your motor. Step-by-step guides and demonstration videos show that cardboard and basic tools can produce a working DC motor with a spinning shaft.
You also need a few electrical components to make your DC motor function:
You can find copper wire at hardware stores or salvage it from old electronics. Magnets are available online or from craft shops. Use any standard battery, but a 9V battery gives more power for faster spinning.
Researchers have tested different wires, magnets, and power supplies to see how they affect motor performance. They measure resistance, voltage, and current to find the best combinations for speed and torque. Using a variable power supply can help you experiment with different voltages and see how your motor responds. Advanced setups even use bidirectional power supplies to test back EMF and simulate real-world conditions.
Note: Always sand the ends of your copper wire before connecting it to the battery. This ensures good electrical contact and helps your motor run smoothly.
Accurate cutting forms the foundation of a sturdy motor frame. Begin by measuring and marking your cardboard pieces with a pencil. Use a metal ruler or square to guide your lines and ensure precise angles. For best results, follow these steps:
Tip: Rotary cutters work well for frequent straight cuts. Always cut alongside a straight edge for accuracy.
You can also refer to the table below for a quick overview of cutting methods:
| Method | Description | Best Use for Motor Frame |
|---|---|---|
| Manual Cutting | Utility knife, ruler, scoring tools for clean edges | Shaping and layering frame parts |
| Die-cutting and Creasing | Steel rule dies, scoring, and creasing for complex shapes and folds | Creating bends and detailed components |
| CNC Plotter Cutting | Computer-controlled blades for precise, repeatable cuts | High-precision frame parts (advanced) |
Once you have your pieces, you can start building the frame. Arrange the cut cardboard sections to form the base and upright supports. Apply glue along the joining edges and press the pieces together until they set. For extra strength, reinforce corners with popsicle sticks or additional cardboard strips.
Creative designs, such as themed decorations or animal shapes, can add both stability and personality. Many successful projects use I-beam shapes or layered cardboard for extra support. Always balance durability with weight to ensure your motor runs smoothly.

You create the heart of your DC motor by winding the coil. Start with 22-gauge enameled copper wire, which offers excellent conductivity and durability. Use high-temperature insulation, such as Polyurethane or Nylon, to prevent overheating during operation. For best results, follow these steps:
Tip: After winding, use a digital multimeter to check for shorts between the coil ends and the armature. This ensures your coil will function properly.
Engineers design armature windings to maximize efficiency by optimizing the number of turns, the arrangement of slots, and the angular relationship between the coil’s magnetic field and the permanent magnet. Maximum torque occurs when these fields are at a 90° angle. If the poles align directly, the motor loses torque and stops spinning. Maintaining this offset helps your motor run smoothly and efficiently.
The axle supports the coil and allows it to spin freely. Select a strong, straight material such as a steel rod, sturdy wooden skewer, or even a thick paperclip. The axle must balance strength and weight to handle the load without bending.
A well-designed axle reduces noise and vibration, which extends the life of your DC motor. Engineers often use carbon steel or alloy steel for durability, but for small projects, a wooden skewer or paperclip works well. Always test the axle for smooth rotation before final assembly.
You need to position the magnets carefully to maximize your DC motor’s performance. Place the magnets as close as possible to the coil without touching it. This setup creates a strong magnetic field, which interacts with the coil and produces motion. Experiments show that precise magnet alignment reduces angular velocity ripple and improves efficiency. When you align the magnets correctly, you minimize magnetic misalignments and enhance the durability of the motor, even under demanding conditions.
Tip: If your motor does not spin smoothly, try repositioning the magnets. Small adjustments can make a big difference in performance.
You must connect the battery with care to ensure safe and efficient operation. Use a battery holder or alligator clips for a secure connection. Always check that the battery voltage matches your motor’s design. For most small DC motor projects, a single AA or 9V battery works well. Avoid using batteries with higher voltage or current than your motor can handle, as this can cause overheating or damage.
| Aspect | Details |
|---|---|
| Battery Type | AA, 9V, or lithium-ion recommended |
| Voltage Limit | Do not exceed the coil’s voltage rating |
| Connection Method | Use battery holders or insulated clips |
| Safety Precautions | Avoid short circuits and monitor for heat during operation |
Note: Always sand the ends of your copper wire before connecting to the battery. This step ensures good electrical contact and helps your motor run smoothly.
The commutator acts as a switch, reversing the current direction in the coil and keeping your DC motor spinning. You can make a simple commutator using two strips of conductive material, such as copper foil or thin metal, attached to the axle. These strips should be insulated from each other and from the axle itself. Use small pieces of cardboard or plastic as insulators.
Researchers have observed that arcs can form between the brushes and commutator at higher voltages. These arcs may cause wear or damage if not controlled. To reduce arcing, keep the voltage within safe limits and ensure the commutator surface is clean and smooth. Some advanced setups use air blasts or electromagnetic methods to extinguish arcs, but for your project, careful assembly and moderate voltage will prevent most issues.
Tip: If your motor stops or sparks excessively, check the commutator for dirt or misalignment. Clean the contacts and adjust the brushes as needed.
When you follow these assembly and wiring steps, you create a reliable and efficient DC motor. Careful attention to magnet placement, battery connection, and commutator design ensures smooth operation and long-lasting performance.
You have finished assembling your DC motor. Now, you can perform your first test. Place your motor on a stable surface. Connect the battery and observe the coil. The coil should start spinning when you complete the circuit. If you want to measure performance, use a multimeter to check current and voltage. You can also use a tachometer to measure speed. These measurements help you understand how well your motor works. Professionals often check for smooth current flow, stable speed, and minimal noise. If you have access to an oscilloscope, you can analyze current waveforms and back EMF for deeper insights.
| Measurement | What to Look For |
|---|---|
| Current Draw | Steady, within safe limits |
| Speed | Consistent, no sudden drops |
| Noise/Vibration | Minimal, no unusual sounds |
| Temperature | No overheating during operation |
Tip: If you notice the coil spinning smoothly and quietly, your setup is working well.
If your DC motor does not spin or runs poorly, follow this checklist:
You should document any issues and the steps you take to fix them. Keeping a log helps you spot recurring problems and improve your design. Maintenance software can help track repairs and alert you to performance changes. Regular inspection and organized spare parts make troubleshooting faster and more effective.
Always handle batteries and magnets with care. Use insulated tools when connecting wires. Never touch exposed wires while the battery is connected. Keep magnets away from electronic devices and credit cards. If the motor gets hot, disconnect the power and let it cool before touching. Work in a well-ventilated area and keep your workspace organized.
Note: Safety comes first. Double-check all connections before powering your DC motor.
You have learned how to build a working motor using simple materials. Review each step, from cutting cardboard to testing your device. Try different magnet strengths or battery voltages to see how performance changes.
Share your experience or ask questions in the comments. Your feedback helps others learn and improve.
Mini quad motors play a crucial role in FPV drones, directly impacting their performance, efficiency,
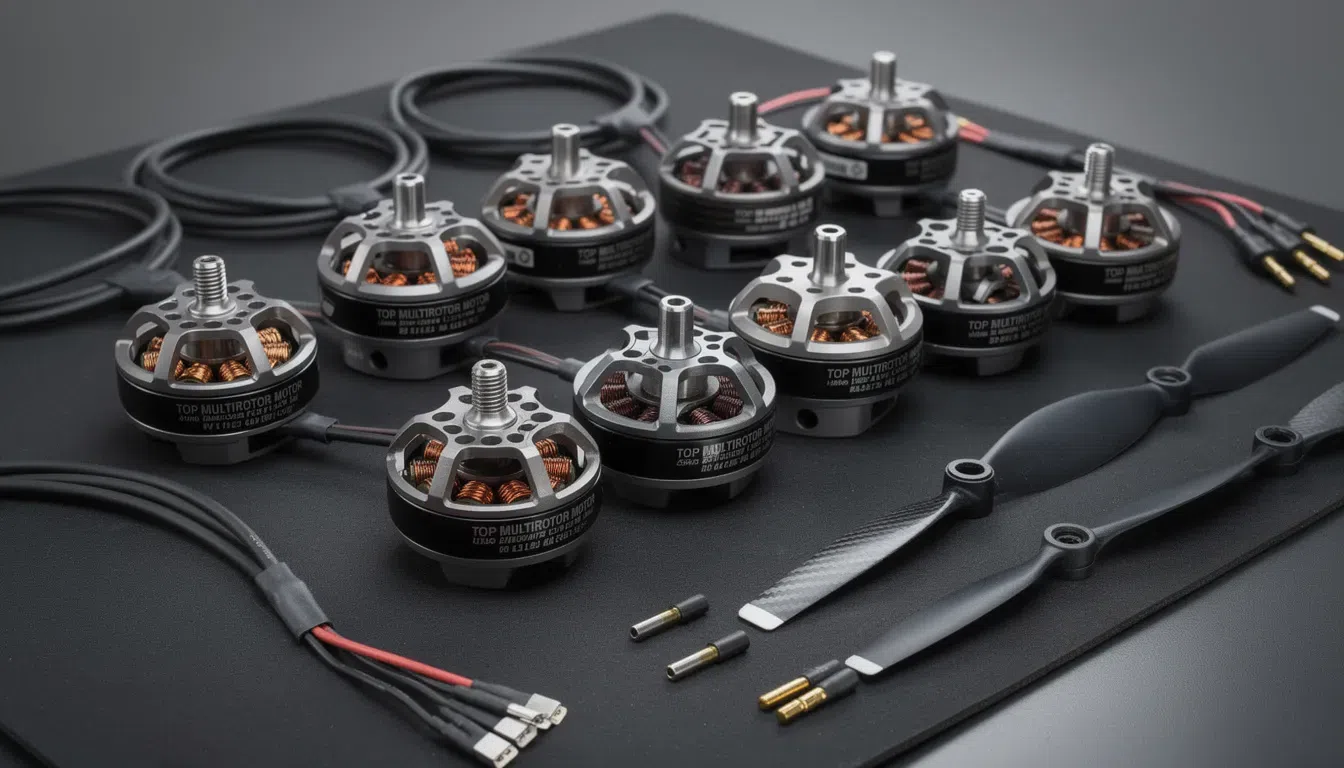
Introduction to Multirotor Motors This guide is designed for drone enthusiasts, builders, and professionals who
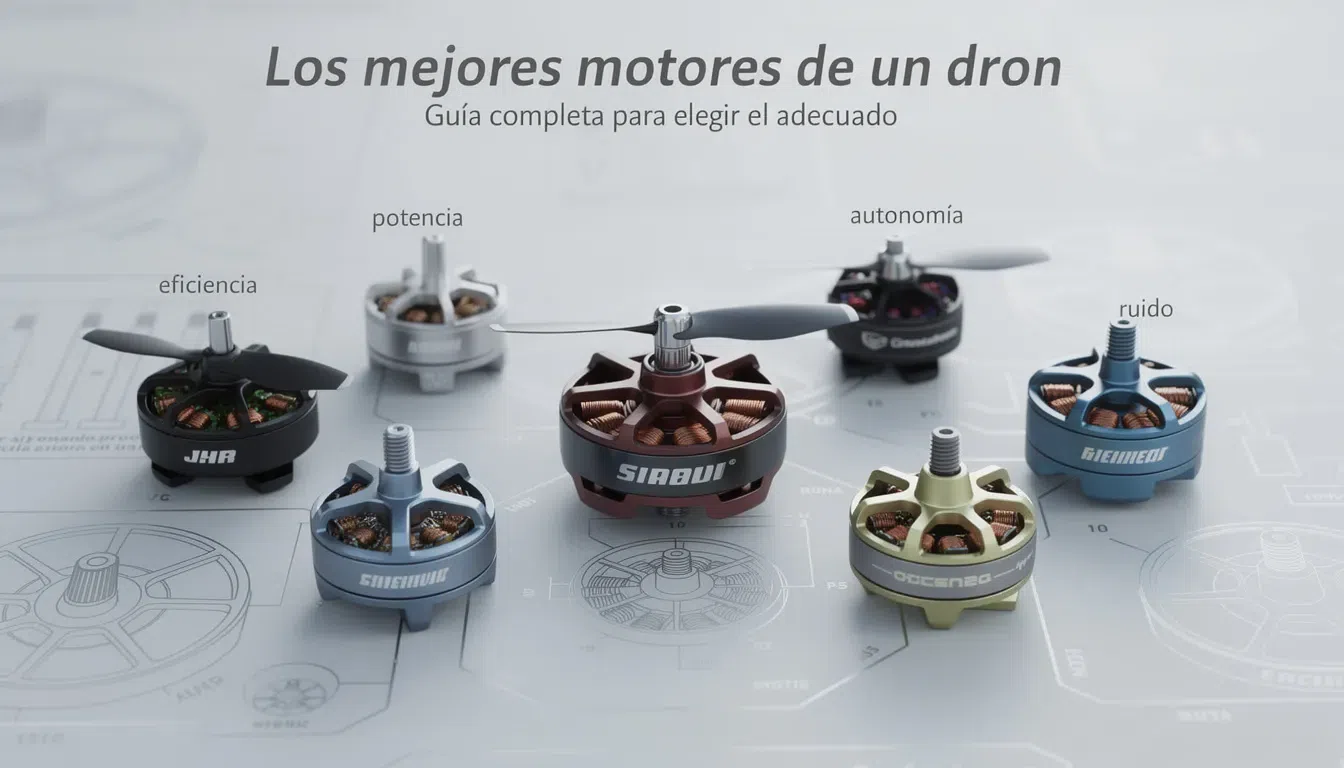
Los motores de un dron son piezas clave que afectan directamente la estabilidad del vuelo