Blog
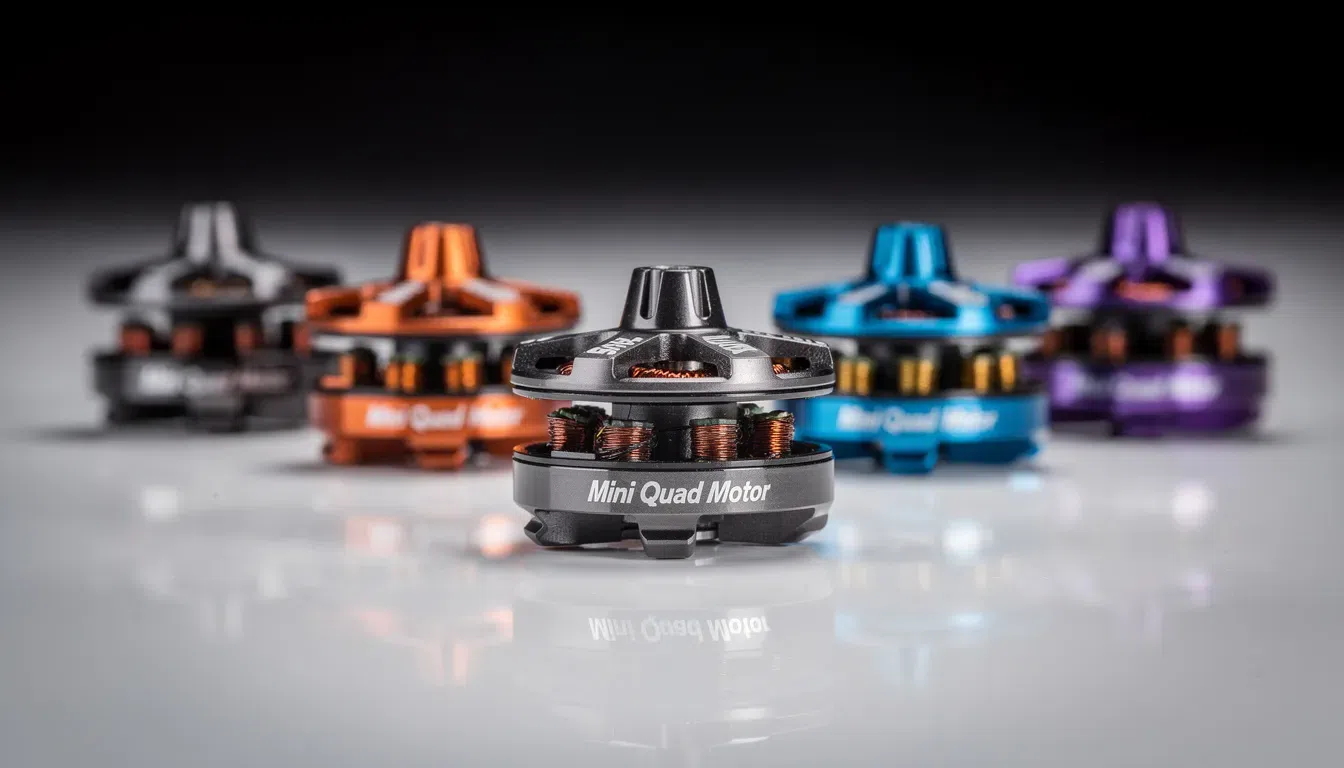
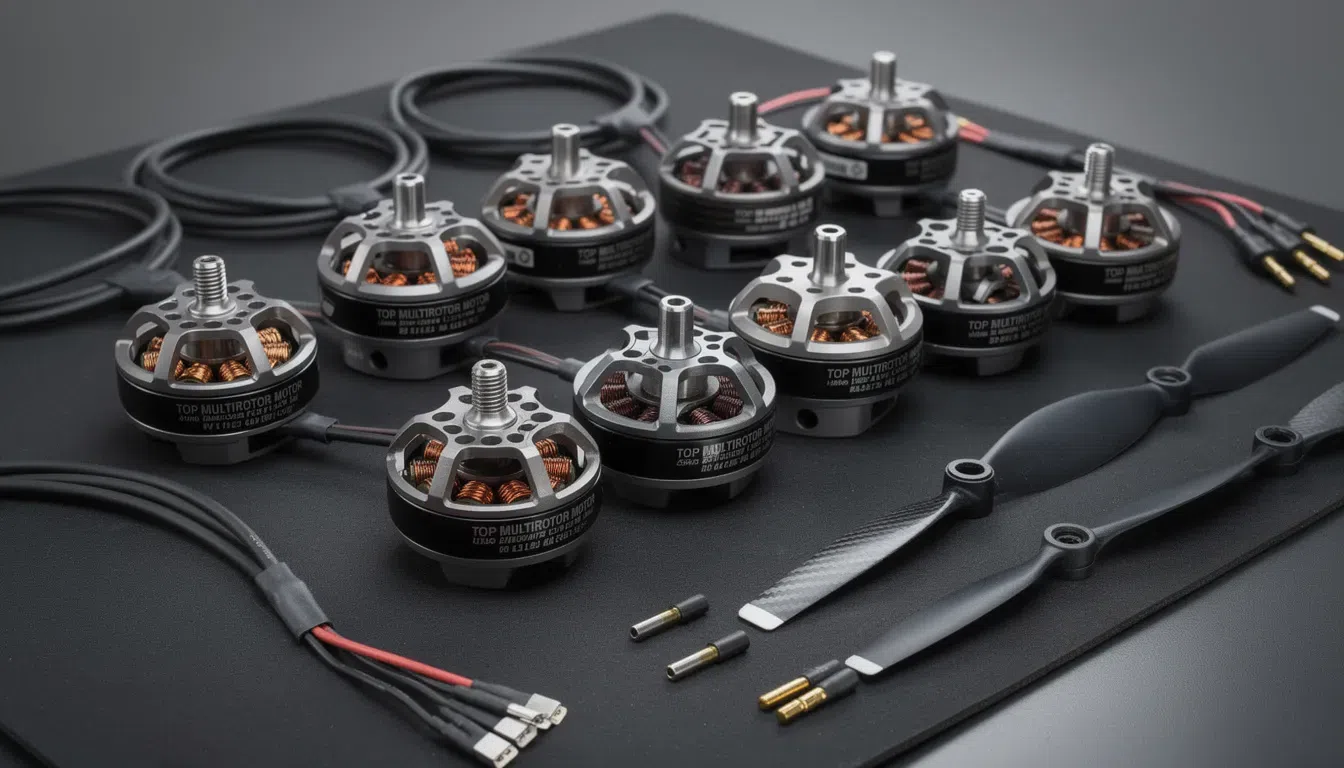
Top Mini Quad Motors: Choosing the Right Option for Your Drone
Mini quad motors play a crucial role in FPV drones, directly impacting their performance, efficiency,

You can achieve drone fly using dc motor technology, but your choice of motor type matters. Brushless motors dominate the drone market because they deliver higher efficiency, longer life, and lower maintenance than brushed motors. Industry data shows brushless motors account for nearly 67% of the global dc motor market, excelling in power-to-weight ratio and reliability—key factors for any drone motor. Brushed motors appear mostly in small toy drones, while advanced drone fly depends on the performance and precision that brushless motors provide.
When you build or upgrade a drone, you need to understand the differences between brushed, brushless, and coreless brushed motors. Each type of motor offers unique advantages and limitations for drone applications.
Brushed DC motors use physical brushes and a commutator to switch current in the rotor. You often find these motors in entry-level or toy drones because they are simple and inexpensive. However, they have several drawbacks for drone use:
Tip: If you want a low-cost drone for basic flying, a brushed DC motor can work. For longer life and better performance, you should consider other options.
Brushless motors have become the standard for most drone motor applications. These motors use electronic commutation instead of physical brushes, which brings several key benefits:
| Feature | Brushed Motor | Brushless Motor |
|---|---|---|
| Efficiency | Lower (~50%) | Higher (up to 90%) |
| Maintenance | Frequent (brush wear) | Minimal |
| Noise | High (electrical & acoustic) | Low (quieter) |
| Lifespan | Short | Long |
| Control | Basic | Precise (electronic) |
| Application | Toys, basic drones | Hobby, pro, industrial |
Note: You should choose a brushless motor if you want your drone to fly longer, carry more weight, and perform reliably. Brushless DC motors dominate the market for these reasons.
Coreless brushed motors use an ironless rotor, which makes them lighter and more responsive than traditional brushed motors. You will see these motors in small toy drones and other weight-sensitive devices. Here are some important points:
Tip: If you want a lightweight, agile drone for indoor flying or as a toy, a coreless brushed motor is a strong choice. For larger or more advanced drones, brushless motors remain the best option.
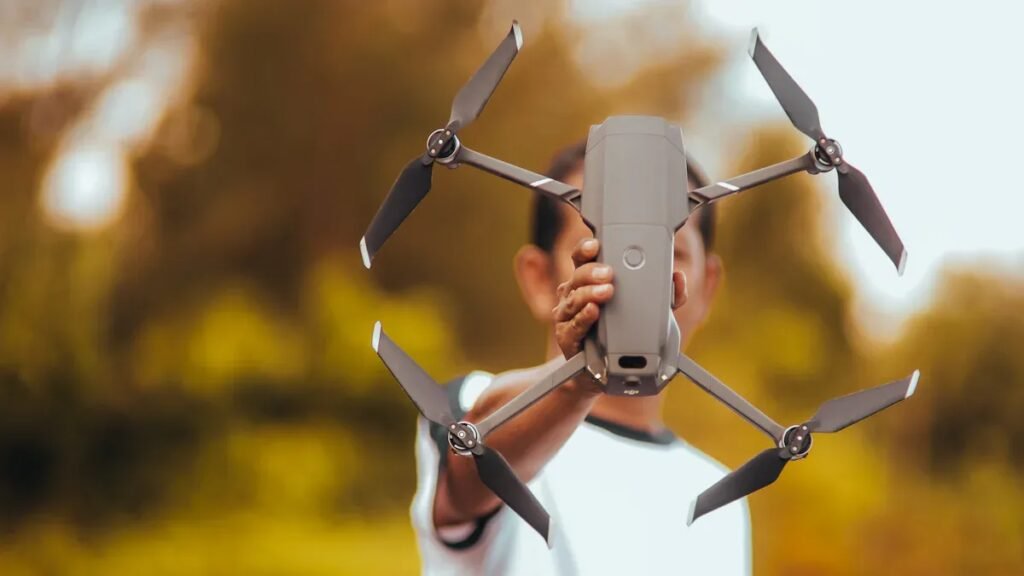
To make a drone that flies reliably, you need to gather high-quality components. Each part plays a critical role in the drone’s performance and safety. Here is a list of the essential parts you will need:
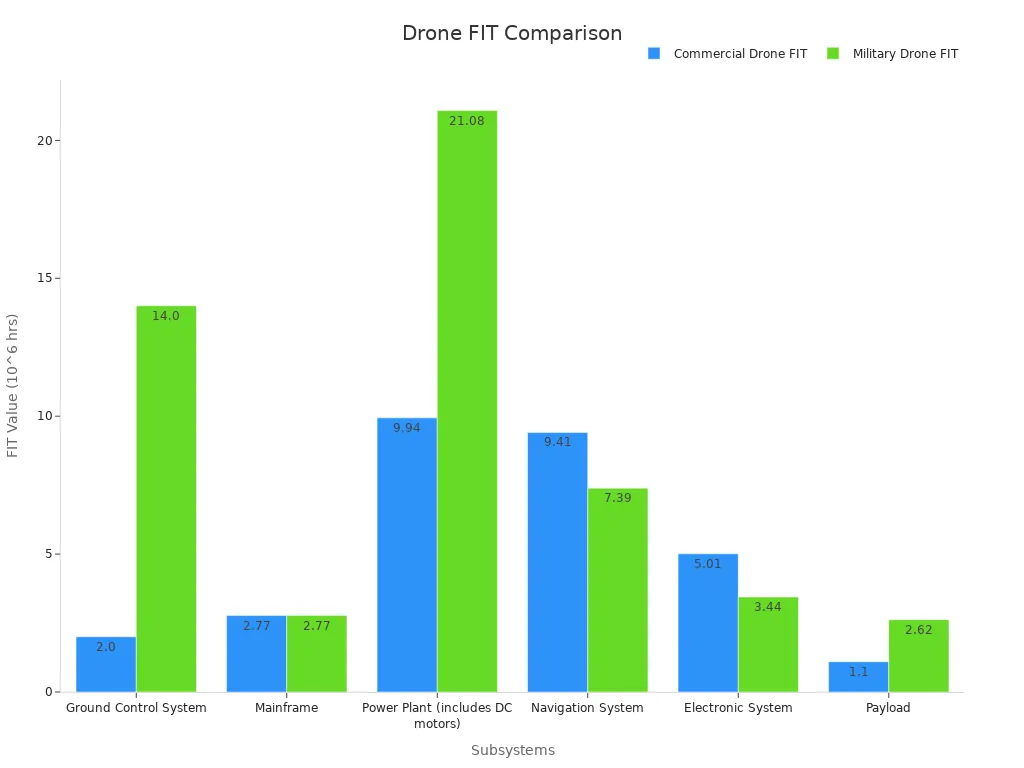
Tip: Always select reliable components. The power plant, which includes the motors, has the highest failure rate among drone subsystems. Reliability data shows that the power plant accounts for 32.88% of failures in commercial drones. Use the table below to compare subsystem reliability and plan your maintenance schedule.
| Subsystem | Commercial Drone FIT (Failures per 10^6 hrs) | Commercial Drone MTBF (hours) | Commercial Drone Incidence (%) |
|---|---|---|---|
| Ground Control System | 2.00 | 500,000 | 6.62 |
| Mainframe | 2.77 | 360,985 | 9.16 |
| Power Plant (includes motors) | 9.94 | 100,604 | 32.88 |
| Navigation System | 9.41 | 106,270 | 31.13 |
| Electronic System | 5.01 | 199,601 | 16.57 |
| Payload | 1.10 | 909,091 | 3.64 |
Building your drone requires careful assembly and attention to detail. Follow these steps to ensure a safe and functional build:
Note: Use RAMS (Reliability, Availability, Maintainability, and Safety) principles during assembly. This approach helps you select the best components and design a safer, more reliable drone.
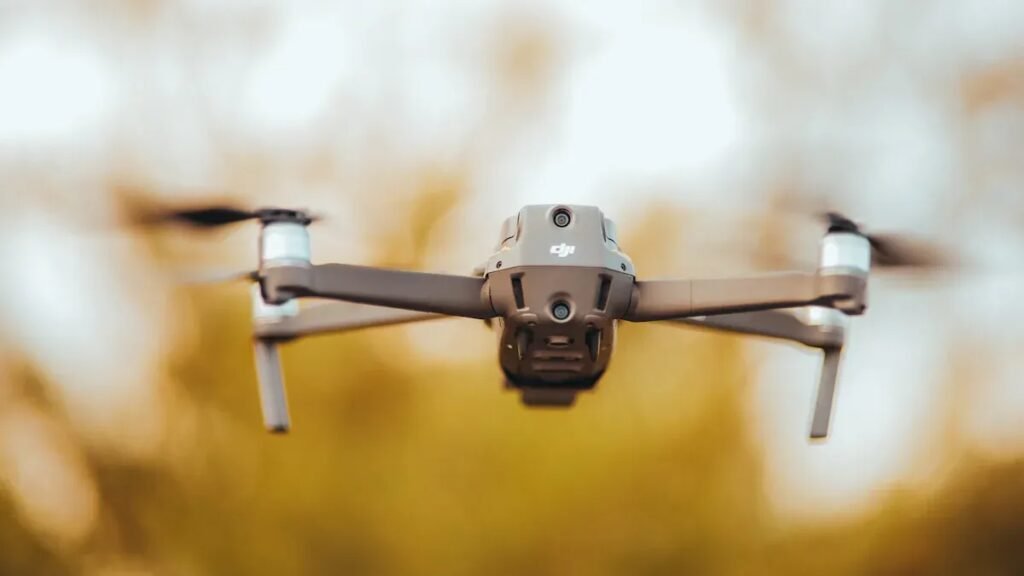
Before your first flight, you must test the drone to confirm that every system works as intended. A structured testing process reduces the risk of failure and improves safety.
⚠️ Safety Alert: Always test your drone in an open area, away from people and obstacles. Wear safety glasses and keep your hands clear of spinning propellers.
A thorough initial test ensures that your drone motor, propeller, battery, and controllers work together smoothly. This process helps you achieve stable and reliable drone fly from your very first launch.
Selecting the right drone motor starts with understanding thrust and power requirements. You must match the total thrust from all motors to the drone’s weight, ensuring stable lift and maneuverability. For reliable flight, aim for a thrust-to-weight ratio of at least 2:1. This means your motors should produce twice the thrust of your drone’s total weight.
When you evaluate motor thrust and power, consider these factors:
You can calculate the required power using the formula: Power = Thrust × Voltage / Efficiency. For example, a drone needing 20 N of thrust with 90% efficiency and 14.8 V battery requires about 296 W of power. Always ensure your battery can supply enough current for all motors.
The KV rating tells you how many revolutions per minute (RPM) your motor spins per volt. High KV motors spin faster but offer less torque, making them ideal for lightweight racing drones with small, high-pitch propellers. Low KV motors spin slower but provide more torque, which suits heavy drones with large propellers.
Empirical studies show that ultralight drones use motors with 2300-3000 KV and 5-inch propellers. Freestyle drones use 1500-2500 KV motors with 6-7 inch propellers. Long-range drones need 980-1900 KV motors and propellers 7 inches or larger. Matching KV rating and propeller size to your drone’s weight and purpose ensures optimal thrust and power without overloading the motor.
You must ensure all components work together for safe and reliable operation. The flight controller should support your chosen motor and ESCs. Always check that the propeller size matches the motor’s torque and RPM limits. Use motors with proven reliability and avoid exceeding current or voltage ratings.
⚠️ Safety Tip: Test your drone motor setup in a controlled environment. Monitor motor temperature and listen for unusual sounds. Replace any motor that shows signs of wear or overheating.
Choosing the right motor, propeller, and flight controller combination gives you stable thrust, efficient power use, and long-lasting performance.
Proper care extends the life of your drone motor and keeps your flights safe. You should follow a regular maintenance routine for both brushed and brushless motors:
1. Clean the motor and surrounding area to remove dirt, dust, and debris. This prevents buildup that can impair performance. 2. Inspect the motor for visible wear, cracks, frayed wires, or loose connections. Early detection helps you avoid sudden failures. 3. Lubricate moving parts such as bearings and gears. This reduces friction and wear, especially in brushed motors. 4. Replace worn parts like bearings, shafts, or brushes. This step is crucial for brushed motors, which experience more wear. 5. Check all electrical connections. Tighten any loose wires and remove corrosion to ensure reliable power delivery. 6. Adjust motor controller settings if you notice irregular performance. 7. Test the motor after every maintenance session to confirm smooth operation. 8. Store your motor in a dry, cool place to prevent moisture damage.
Manufacturers use accelerated life testing and Weibull analysis to predict motor lifespan. These methods help you set maintenance schedules and choose reliable motors for your drone.
You may encounter issues with your drone motor during pre-flight checks or in the air. Use this table to identify and resolve common problems:
| Troubleshooting Data / Replacement Indicator | Explanation / Relevance to Motor Care |
|---|---|
| Visible damage inspection | Look for cracks or wear on motors and propellers to spot issues early |
| Cracked or worn propellers | Replace immediately to maintain motor efficiency and flight stability |
| Pre-flight motor and propeller checks | Routine inspections catch problems before they cause failure |
| Cleaning motors and propellers | Prevents dirt buildup that strains the motor |
| Sensor recalibration and reset procedures | Ensures motor sensors work correctly for stable flight |
| Warning signals and indicators | Pay attention to alerts that may signal motor malfunction |
| Professional repairs for complex issues | Seek expert help if basic troubleshooting does not fix the motor |
Tip: Always listen for unusual sounds and monitor motor temperature during operation.
You should replace your drone motor if you notice any of these signs:
Timely replacement ensures your drone remains safe and reliable in the air.
You can achieve reliable drone fly by choosing the right motor for your needs. Brushless motors deliver high efficiency, low maintenance, and strong power-to-weight ratios, making them ideal for most drone fly scenarios. To maximize performance and safety, follow these best practices:
Consistent care and smart choices help your drone motor last longer and perform at its best.
Mini quad motors play a crucial role in FPV drones, directly impacting their performance, efficiency,
Introduction to Multirotor Motors This guide is designed for drone enthusiasts, builders, and professionals who
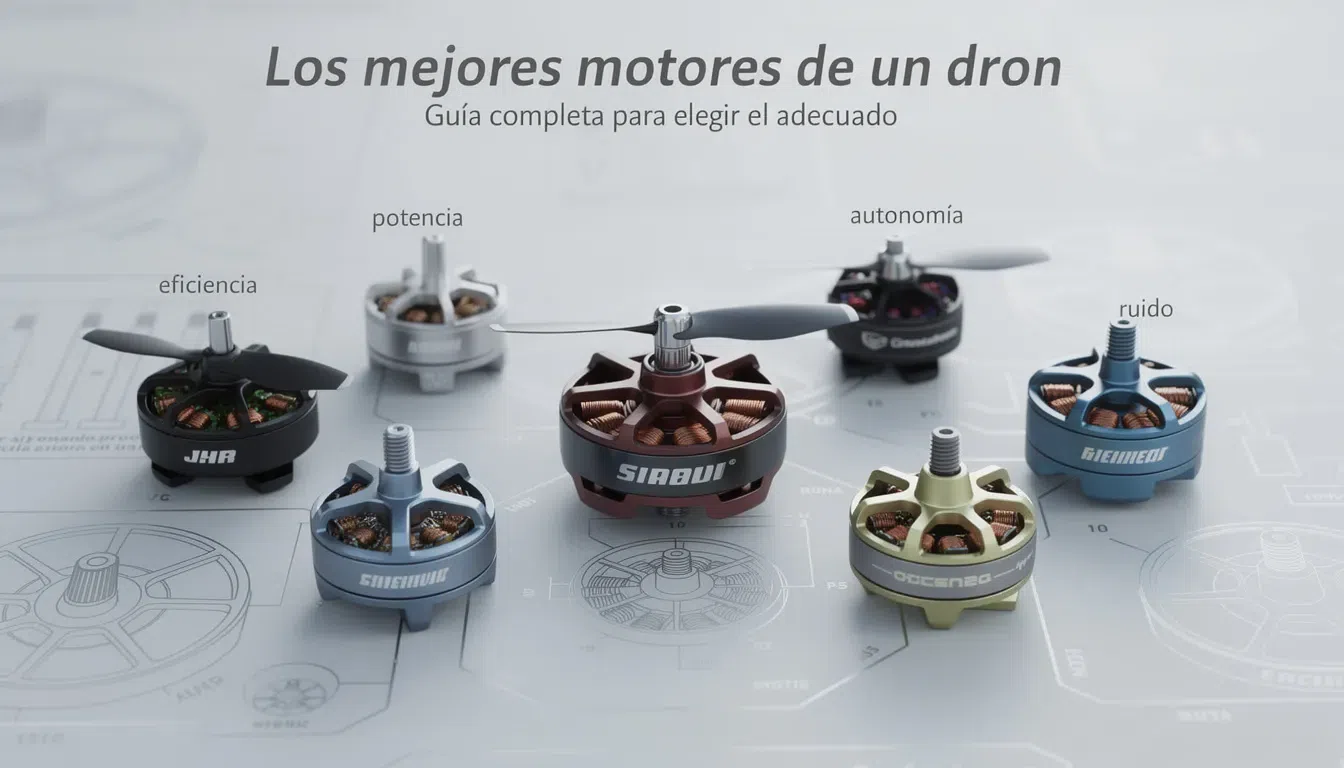
Los motores de un dron son piezas clave que afectan directamente la estabilidad del vuelo